How to Fix Roof Condensation
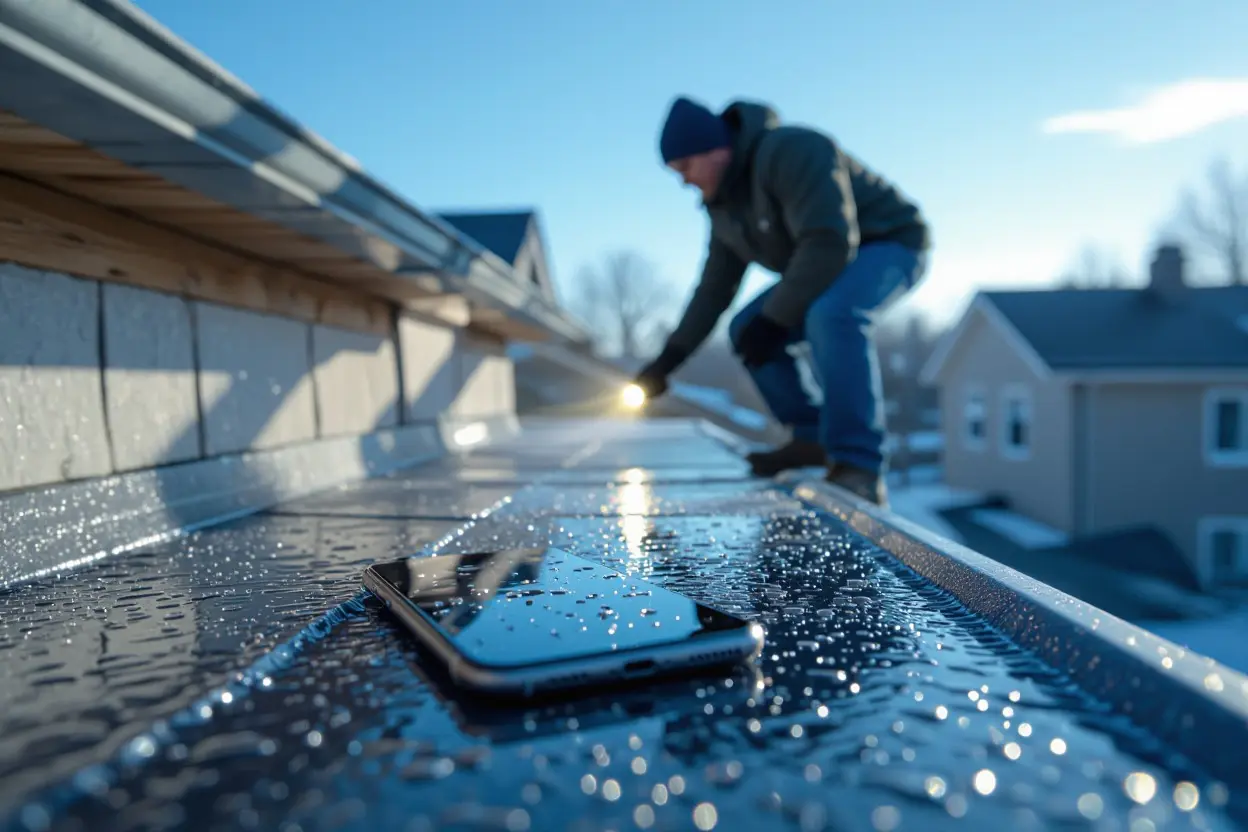
Water spots on your ceiling are a bad sign. They can signal a roof leak or serious condensation issues. Condensation happens when warm, moist air meets a cold surface. In Winnipeg, this often happens in your attic during winter. A lack of proper ventilation traps moisture. This moisture can ruin insulation, rot your roof decking, and even cause mold. These problems can lead to expensive repairs. We have seen how destructive attic condensation can be for Winnipeg homes. In this article, you will learn the signs of roof condensation. You will also get practical steps on how to fix roof condensation problems and protect your home.
Key Takeaways:
- You control indoor humidity, especially in Winnipeg winters, run an HRV or use dehumidifiers, and vent bathrooms and kitchens outdoors.
- You air seal and insulate your attic, stopping warm, moist air from reaching cold roof surfaces in winter.
- You call All Weather Exteriors for an inspection and repairs; they fix leaks, upgrade insulation, and improve ventilation for lasting results.
Understanding Roof Condensation
What is Roof Condensation?
Warm, moist air from your living space rises into the attic. When that air contacts cold roof sheathing, it cools to its dew point and sheds moisture as liquid on rafters and insulation. In Winnipeg winters, interior air at 20°C and 50% relative humidity has a dew point around 10°C, so sheathing that drops below that will collect water.
Condensation shows as dark stains, wet insulation, and ice under eaves. Mold can begin within 24 to 48 hours if surfaces stay damp. Wet insulation can lose a large portion of its thermal performance, and repeated cycles lead to wood rot and higher heating bills.
Factors Contributing to Roof Condensation
Poor attic ventilation forces warm, humid air to pool under the sheathing. Building science typically targets a balanced net free vent area near 1:300 of the insulated ceiling area, or 1:150 if you lack a continuous vapor control layer. Low insulation levels, thermal bridging at rafters, and blocked soffit or ridge vents amplify cooling of the sheathing.
Air leakage from recessed lights, attic hatches, plumbing chases, and ductwork carries household moisture into the attic. Common moisture sources include showers, clothes dryers vented improperly, indoor combustion appliances, and humidifiers. Many older Winnipeg homes still have R-12 to R-30 attic insulation; modern best practice for this climate is closer to R-50 to R-60.
- Insufficient ventilation, less than the recommended 1:300 net free area.
- Low or uneven insulation, with gaps at eaves and along rafters.
- Air leakage through fixtures, chases, and attic doors.
- High indoor humidity from dryers, showers, cooking, and humidifiers.
- Thou should inspect for blocked soffit vents and missing baffles that stop airflow.
Measure attic relative humidity with a digital hygrometer; aim to keep winter attic RH below 50%. Seal air leaks with spray foam or caulk at wiring penetrations, top plates, and light fixtures. Install continuous baffles at every eave to keep soffit vents clear; add balanced soffit and ridge ventilation to move air across the sheathing. Increase insulation to reach R-50 to R-60 where practical, and ensure exhaust fans and dryer ducts vent directly outdoors.
- Check attic humidity during a cold snap; record RH and sheathing surface temps.
- Seal common bypasses: attic hatch, recessed cans, plumbing stacks, and duct boots.
- Install baffles to prevent insulation from blocking soffit vents.
- Upgrade insulation depth and maintain continuous air and vapor control layers.
- You should contact a local certified roofer like All Weather Exteriors for a targeted assessment and mitigation plan.
How to Identify Roof Condensation Issues
Signs of Roof Condensation
Look for water droplets or white frost on the underside of roof sheathing, dark stains or black mold on rafters, and wet or compressed insulation. Ceiling paint that blisters or peels in top-floor rooms, persistent musty odors in the attic, and brown water stains along eaves all point to recurring condensation rather than simple leaks.
All Weather Exteriors field inspections in Winnipeg often find blocked venting or attic humidity above 60 percent when these signs appear; that level will condense quickly during January cold snaps. Track the progression, roof sheathing that stays wet between cold cycles can reach moisture contents above 16 percent, which speeds rot and shortens shingle life.
Measuring Humidity Levels
Use a digital thermo-hygrometer or a data logger to record relative humidity and temperature in the attic; inexpensive digital units cost about $20, while quality data loggers run $100 to $200. Mount the sensor at mid-height in the attic, away from ridge vents and gable openings, and log for at least 48 to 72 hours during a cold spell. Aim to keep winter attic RH below 35 to 40 percent in Winnipeg; higher readings raise the dew point above sheathing temperature and cause condensation.
Place a second sensor in your living space to compare indoor and attic RH, run hourly logging to catch spikes from showers or cooking, and use an IR thermometer to check sheathing surface temperatures. If sheathing surface temperature falls below the calculated dew point from your logged readings, you have active condensation and should address air leaks, ventilation, or humidity sources.
Tips for Preventing Roof Condensation
Seal air leaks from your living space into the attic first. Target plumbing stacks, recessed lights, attic hatches, and chimney chases. Use caulk for small gaps and expanding foam for larger voids, swap open can lights for sealed IC-rated fixtures. Bump attic insulation to R-60 where feasible; that equals roughly 16 to 20 inches of loose-fill fiberglass or cellulose in many Winnipeg homes. Vent all combustion appliances and bathroom and kitchen fans to the outdoors, not into the attic.
Follow a clear checklist when you inspect or upgrade your roof assembly, address both air and moisture pathways, and balance insulation with ventilation.
- Seal attic bypasses with foam and weatherstripping
- Add or top up attic insulation to R-60
- Install continuous soffit and ridge vents for balanced flow
- Use attic baffles to keep soffit vents clear of insulation
- Avoid powered attic fans unless ductwork and air barriers are verified
Assume that you perform these steps before winter returns, and you will cut the condensation risk dramatically.
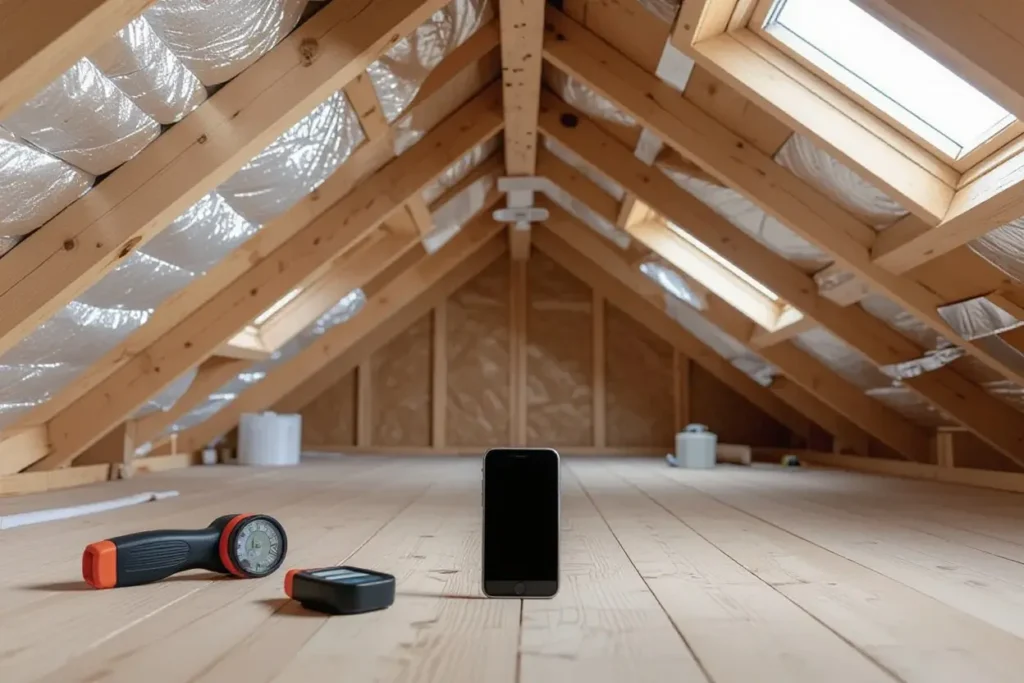
Insulation Techniques
You want a continuous air barrier plus enough thermal resistance. Install a sealed vapor control layer on the warm side of the insulation, then add loose-fill or batt insulation to reach R-60 at the attic floor. In Winnipeg, that R-value minimizes heat loss and keeps the attic cold enough to avoid warm, moist air hitting cold roof sheathing.
For cathedral ceilings or confined roof cavities, use closed-cell spray foam to create both an air barrier and insulation. Two inches of closed-cell foam gives you a solid air seal and about R-12 to R-13; follow with additional insulation where cavity depth allows. At All Weather Exteriors, we advise sealing top plates and gaps before insulating to stop plume-driven moisture from entering the roof space.
Ventilation Solutions
Balanced passive ventilation is the best fix; combine continuous soffit intake with continuous ridge exhaust. Aim for a net free ventilation area of 1 to 300 of the attic floor area when you have a vapor control layer; split the net free area roughly half low, half high. Use baffles to maintain a 2-inch clear channel from soffit to ridge so insulation does not block intake flow.
Avoid single high-powered attic fans unless you have perfect air sealing, because fans can draw conditioned air through leaks into the attic and raise moisture. Choose ridge vents rated for net free area on the label, and pair them with matching soffit venting to achieve continuous flow. Inspect vents each fall and after heavy snowfall to ensure they remain clear.
Example calculation helps you size vents. For a 1500 square foot attic at 1:300, you need 5 square feet of net free vent. Divide that into about 2.5 square feet at the soffit and 2.5 square feet at the ridge; check product NFA data to match those numbers.
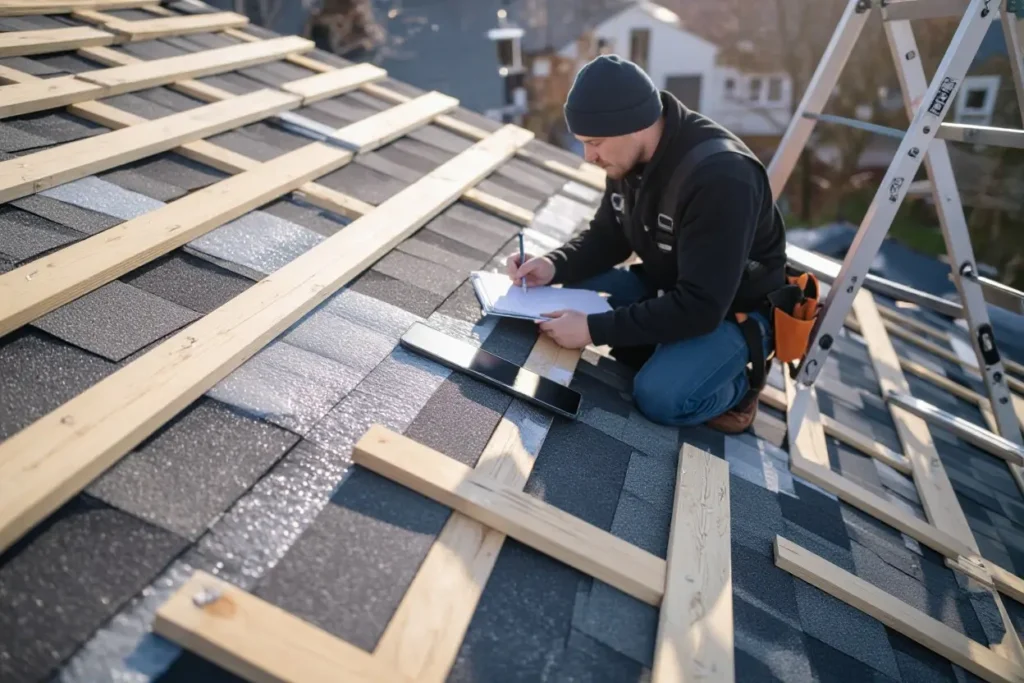
How to Fix Roof Condensation Problems That Exist
Start by confirming the moisture source with a visual inspection and a moisture meter, and check the attic after several hours of cold weather and after a heavy cooking or showering period to spot wet patches on sheathing or insulation. Use a thermal camera or hire All Weather Exteriors to scan for cold spots that attract condensation; those scans often reveal air leaks around recessed lights, plumbing stacks, and duct chases that you must seal before other fixes will hold.
Address active moisture first, dry or remove wet materials, then repair the air barrier and insulation; leaving wet insulation in place reduces R-value and promotes mold within weeks in Winnipeg winters. Prioritize fixes that stop warm, humid indoor air from reaching cold roof surfaces, because passive ventilation upgrades alone will not solve problems caused by uncontrolled air leakage.
Repairing Insulation
Cut out saturated insulation and inspect the roof sheathing for mold or rot. Replace any damaged sheathing before you add new insulation; wet cellulose or fiberglass loses most of its R-value and will stay wet if you only cover it. Aim for attic insulation levels between R-50 and R-60 for Winnipeg, which typically means about 16 to 20 inches of blown-in cellulose or equivalent fiberglass; dense-packed cellulose often performs better against air movement than loose fill.
Seal all air leaks at the ceiling plane before adding insulation. Use closed-cell spray foam around rim joists, recessed light fixtures, and plumbing stacks to create a continuous air barrier. Install baffles at the eaves, keep a 38 to 50 mm (1.5 to 2 inch) clear channel for soffit-to-ridge airflow, and ensure insulation does not block soffit vents.
Improving Airflow
Balance intake and exhaust venting to meet the 1:300 rule, which means one square foot of net free vent area per 300 square feet of attic, for example, a 1,200 square foot attic needs about 4 square feet of net free vent area. Split that area evenly between soffit or eave vents and ridge or roof vents; a balanced system prevents stagnant cold pockets and keeps the roof sheathing near outdoor temperatures so condensation does not form.
Prefer continuous soffit and continuous ridge vents for even airflow, install ridge vents along the highest point, and open continuous soffit vents along the eaves rather than relying solely on gable vents or intermittent box vents. Avoid powered attic fans as a first choice; they can create negative pressure and pull conditioned house air into the attic through gaps, increasing condensation risk unless you correct air leaks first.
When you plan upgrades, measure net free vent area on product specs and match intake to exhaust, place baffles in every rafter bay at 16 inch centers to preserve the airflow channel, and check performance in a cold snap; you should see attic sheathing temperatures rise toward outdoor values and condensation events fall after a proper balance and air sealing job by All Weather Exteriors.
Maintenance Practices to Reduce Condensation
Targeted maintenance cuts roof condensation risk more than one-off fixes. Schedule inspections and seasonal tuneups, keep attic humidity below 50 percent, and follow a balanced ventilation rule of thumb, one square foot of net free vent area per 300 square feet of attic floor; for a 1,500 square foot attic, that equals 5 square feet of NFA. Seal air leaks at top plates, around chimneys and plumbing stacks, and maintain continuous insulation levels; gaps of even 25 to 50 millimetres let warm, moist air flood the cold roof deck and cause condensation.
Track trends, not just single events. Use a digital hygrometer and log attic relative humidity and surface temperatures through winter and spring; spikes after renovations or new appliance installs point to added moisture sources. All Weather Exteriors uses this data to prioritize fixes, for example, adding balanced intake and exhaust vents before increasing insulation depth on roofs already at R-50.
Regular Inspections
Inspect at least twice a year, spring and fall, and again after heavy storms or ice events common in Winnipeg winters. Look for dark staining, rusty fasteners, wet or matted insulation, and frost on the underside of roof sheathing; any of those signs indicate active condensation or past saturation.
Carry a simple checklist: hygrometer reading, visible mold or staining, vent clearances, insulation depth at common R-values, and condition of vapor barriers. For example, verify soffit vents are free from blown-in insulation and that ridge vents show 360 degrees of unobstructed air flow at the ridge slot; blocked intake kills the ventilation balance and creates cold pockets where condensation forms.
Seasonal Adjustments
Adjust humidistat and ventilation settings with the season. In winter, lower humidifier setpoints to around 30 to 35 percent indoor relative humidity to reduce the driving force for moisture into the attic; in shoulder seasons, increase to 35 to 45 percent to maintain comfort without overwhelming the roof cavity.
Change fan and vent behavior too; run bathroom and kitchen exhaust fans during use year-round, but avoid continuous whole-house ventilation at high rates during subzero Winnipeg stretches unless you have heat-recovery ventilation. Close foundation vents only if you have a sealed, insulated crawlspace; otherwise, keep them open to avoid trapping moisture under the structure.
For a practical example, set your HRV to low continuous exchange in mid-winter and switch to medium during thaw cycles; pair that with a hygrometer reading and a periodic attic check after heavy snowfall to catch any condensation before it stains sheathing or soaks insulation.
Professional Help: When to Call an Expert
If condensation continues after sealing bathroom and kitchen vents, upgrading insulation, and clearing soffit and ridge vents, you should call a pro. Look for persistent wet spots on attic sheathing, insulation that feels damp, black mold growth, or recurring ice dams; these signs point to systemic problems. In Winnipeg winters, when outdoor lows often drop below -20°C, even small ventilation imbalances can drive moisture into roof assemblies and cause rapid damage.
Short-term fixes can hide long-term failure. A contractor can confirm whether your attic humidity is above safe thresholds, for example, moisture content in wood above 20 percent, which accelerates rot. You should get a professional assessment when you see structural staining, sagging roof decking, or unexplained spikes in energy bills that suggest heat loss through the attic.
Identifying Complex Issues
You will face complex problems when condensation links to hidden failures, such as a breached vapor barrier, unbalanced intake and exhaust vents, or duct leaks that pressurize the attic. Professionals use diagnostic tools you likely do not have, including infrared imaging to spot cold wet sheathing, moisture meters to quantify percent moisture in wood, and blower door tests to find leakage paths. These tests separate a simple ventilation shortfall from multifaceted assembly problems.
Expect technicians to check combustion appliance venting for signs of backdrafting, because backdrafts can raise attic moisture and create health hazards. Ask for specific data, such as attic relative humidity readings and measured net free vent area; that data tells you whether the fix will be a quick vent upgrade or a full roof assembly intervention.
Choosing the Right Contractor
Start by verifying credentials. You should see proof of liability insurance, a WCB clearance, and manufacturer certifications such as GAF or CertainTeed if shingle work is involved. Ask for three local references that have had similar condensation or ventilation work, and request before and after photos with moisture readings when possible.
Require a written estimate that lists the scope, materials with net free vent area numbers, ventilation calculations, and warranty details on workmanship. Good contractors will explain whether they plan to balance intake and exhaust, and which ventilation ratio they will use, for example, one square foot of net free vent area per 300 square feet of attic floor or an alternate 1:150 approach when mechanical systems demand it.
Expect typical ventilation retrofit costs in Winnipeg to vary by house size and access, often ranging from about $1,500 for a small bungalow with simple soffit and ridge work to $6,000 or more for larger homes needing roof openings, new vents, and insulation repairs. Ask the contractor to provide a timeline, a cleanup plan, and confirmation that they will pull any required permits and meet local building code standards. All Weather Exteriors can provide that paperwork and on-site diagnostics so you get measurable results, not guesses.
FAQs
Why does my roof condense in winter in Winnipeg?
Warm, moist air from your home rises into the attic, it hits the cold roof deck, and it turns to water. Poor attic ventilation, gaps in insulation, and air leaks make this worse. In Winnipeg winters, the temperature difference is large, so condensation forms faster. You may see frost, damp insulation, water stains, or a musty smell. All Weather Exteriors can inspect your roof and attic to find the exact cause.
How can you fix roof condensation yourself?
Cut indoor humidity, vent your dryer, bathroom, and kitchen to the outside, and run an HRV if you have one. Seal air leaks around recessed lights, chimneys, ducts, and attic hatches with caulk or spray foam. Add insulation to meet Manitoba code levels, and install baffles at the eaves to keep soffit vents clear. Clean and maintain soffit and ridge vents so air can flow. These steps reduce moisture and often stop condensation.
When should you call All Weather Exteriors for help?
Call if condensation returns after DIY fixes, if you see mold, rotted roof sheathing, soaked insulation, or active leaks. Call if you have ice dams or persistent attic moisture. All Weather Exteriors, a Winnipeg roofing company, will perform a full attic and roof inspection, recommend roof repairs, and other services needed.
You can stop roof condensation.
Improve attic ventilation, add insulation, seal air leaks, and control indoor humidity.
Act quickly to protect your roof and your home. Call All Weather Exteriors, your Winnipeg roofing expert, for an inspection and professional repairs; you will get a clear diagnosis, honest pricing, and lasting workmanship suited to Winnipeg weather
Editor’s Note: This post was originally published on May 21, 2020. The last update was made on September 25, 2025, to reflect new information and insights.
Leave a Reply
You must be logged in to post a comment.