Freeze-Thaw Cycles On Roof – The Impacts and How To Prepare
Freeze-Thaw cycles on roof this summer can seriously stress not just you but also your Winnipeg roof. So you should inspect shingles, flashings, and attic ventilation early; ice dam formation and hidden leaks are the most dangerous outcomes to watch for. By scheduling a professional check, clearing gutters, and fixing weak spots, you can prevent costly water damage and extend your roof’s lifespan. As a Winnipeg homeowner, act now to protect your property before freeze-thaw swings return.
Key Takeaways:
- Inspect and repair weak spots this summer — fix loose or missing shingles, damaged flashing, and worn seals around vents and chimneys so small issues don’t become leaks once freeze-thaw cycles start in Winnipeg.
- Keep gutters, downspouts, and roof valleys clear and trim overhanging branches — proper drainage prevents pooling and ice dam formation at the eaves after rapid melt-and-freeze swings.
- Improve attic insulation and ventilation now — limiting heat loss through the ceiling keeps your roof colder and reduces the chance of snowmelt refreezing on the edge; if you’d like help, All Weather Exteriors, Winnipeg’s #1 roofing company, can do a summer assessment.
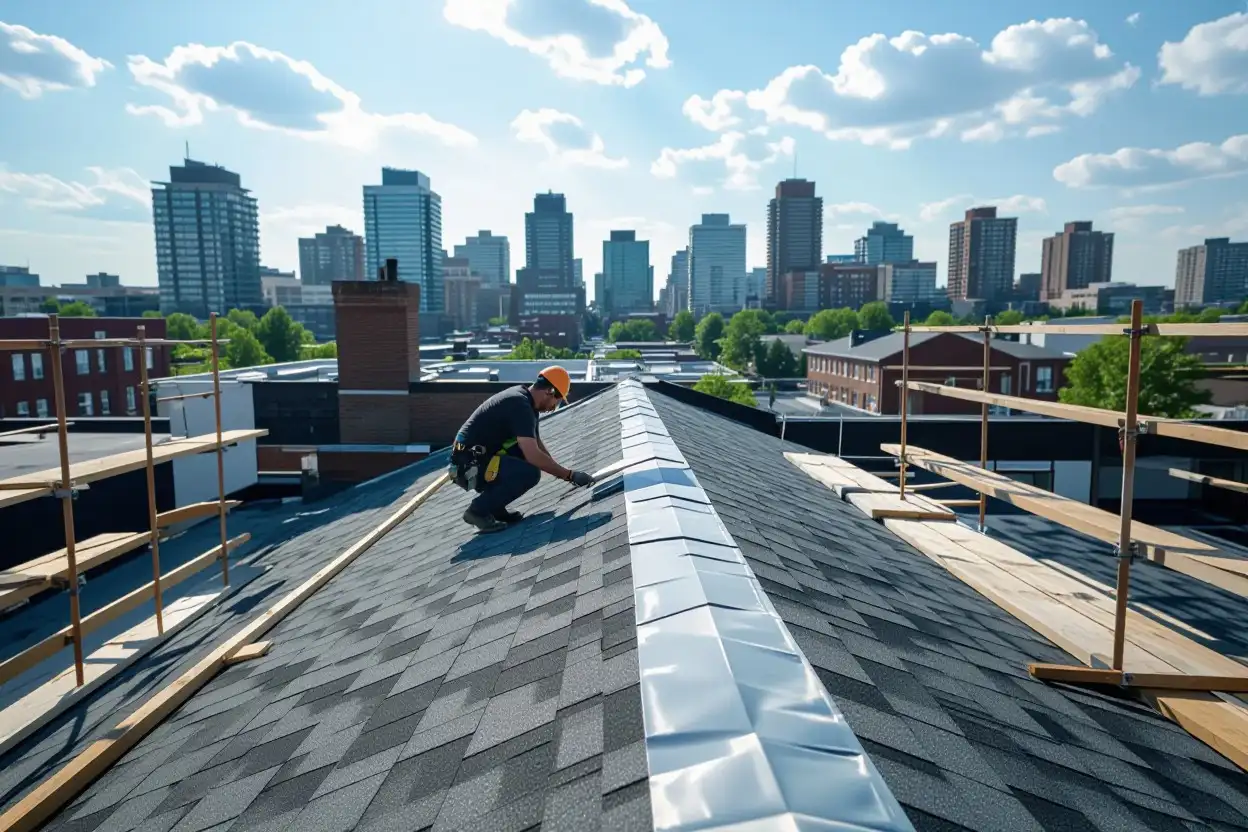
Unseen Hazards: The Freeze-Thaw Cycle’s Toll on Winnipeg Roofs
Repeated cycles of melting by day and freezing by night create damage that you often won’t see until water has already worked its way past the shingles. Snowmelt and rain pool in low spots or behind clogged gutters, then freeze and expand in place; water increases in volume by roughly 9% when it freezes, and that pressure scores tiny cracks in asphalt, underlayment, and flashings with every cycle. Those micro-failures let more moisture in on the next melt, accelerating deterioration from the top layer down to the deck and attic.
Hidden interior consequences matter as much as visible exterior wear. You may notice a single loose shingle, but by the time a stain appears on drywall, you can already be facing wet insulation, lowered R-value, and wood sheathing that has begun to rot. In Winnipeg’s variable spring and fall temperatures, that progression can happen over a single season if the roof isn’t addressed.
The Mechanics of Damage: How Water Manipulates Roof Integrity
Water wicks through tiny gaps and under shingle tabs; during a freeze, it creates ice lenses that pry material apart along seams and nail penetrations. Asphalt shingles shed granules as the binder weakens, exposing the mat to UV and further degradation—granule loss you can see in gutters or on downspouts is an early signal that the shingle no longer protects the roof like it should. Flashings around chimneys, vents, and valleys are especially vulnerable because trapped moisture there goes through repeated freeze-thaw stress.
Thermal cycling also breaks adhesives and loosens fasteners: nail pops become entry points, and curled shingles allow wind uplift. Winnipeg’s swings above and below 0°C during shoulder seasons mean these micro-events repeat frequently—each cycle reduces material toughness and increases permeability, so what was a hairline crack in October can be a deck failure by spring.
Escalating Issues: From Small Flaws to Major Failures
A single compromised flashing or a few missing shingles rarely stay isolated. Water that bypasses those weak spots soaks the sheathing and attic insulation, creating hidden mold growth and wood rot that undermine structural integrity. In many cases, we see homeowners fix a few shingles and assume the problem is solved, only to have interior leaks appear under heavy spring melts or during a rapid refreeze.
Repair timelines often shorten dramatically once moisture reaches the deck: a small patch job that might have cost a few hundred dollars turns into sheathing replacement, new underlayment, and extended labour—work that can run into the thousands. Quick detection and targeted repairs typically preserve the underlying structure; delays increase the scope of work and the risk of secondary damage like drywall replacement and electrical repairs.
Interior damage escalates beyond the roof itself: saturated insulation can lose up to 30–40% of its thermal performance, forcing your furnace to run longer through Winnipeg’s colder months. Mold colonization in the attic can lead to costly remediation and potential health concerns for occupants, so addressing even minor exterior defects promptly prevents much larger headaches inside your home.
Cost Implications: Why Skipping Maintenance is a Financial Mistake
Routine inspections and small repairs are relatively inexpensive compared with full replacements. A typical roof inspection in Winnipeg runs in the low hundreds, and spot repairs often fall under $200–$800, depending on access and materials; contrast that with the price of a full asphalt shingle replacement, which can commonly be in the $7,000–$15,000 range for an average single-family home. Paying for maintenance buys time and protects the lifespan of your roof system.
Insurance coverage can be unpredictable if damage results from neglected maintenance: claims related to progressive deterioration or pre-existing issues are more likely to be reduced or denied. Investing in seasonal cleanings, gutter maintenance, and flashing checks not only limits repair bills but also strengthens your position with insurers in the event of legitimate storm or accidental damage.
Doing a modest preventive investment—such as a $250 inspection and a $500 repair—can stop problems that would otherwise lead to an $8,000–$12,000 deck replacement and interior repairs. For Winnipeg homeowners, that small upfront cost is often the difference between a routine maintenance season and an emergency project in the middle of the spring melt season.
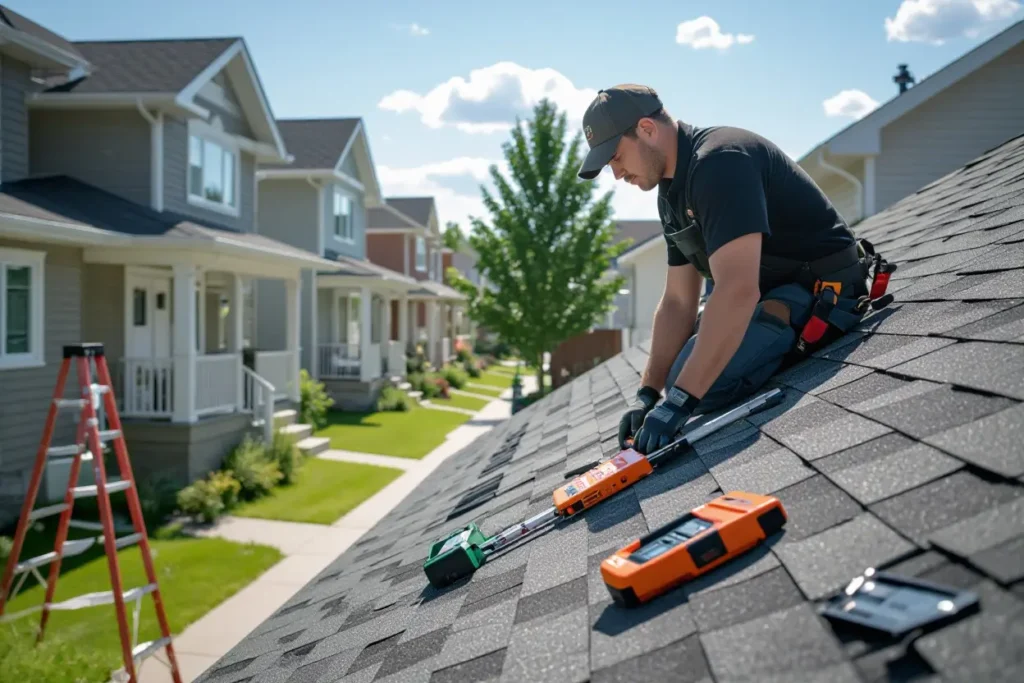
Essential Summer Inspection: What Every Homeowner Should Know
Identifying Deterioration and Weaknesses
Hard-worn shingles often show the first signs of long-term weather stress: bald spots where granules have worn away, curling or cupped edges, and hairline cracks. Asphalt shingles in Winnipeg typically have a life expectancy of about 20–25 years, but repeated freeze-thaw cycles and summer UV exposure can accelerate granule loss and shorten that span. Scan your roof after a storm and check your downspouts and gutter bottoms for a heavy accumulation of granules — that’s a reliable signal that the shingle surface is compromised.
Wind events with gusts over 80–100 km/h and summer hail can lift or fracture shingles, creating entry points for moisture when winter arrives. You should be on the lookout for shingles that lift at the edges, any exposed mat, or fastener pops; a small area of damage (more than about 20% of a roof plane) usually means replacement is a better long-term investment than piecemeal patching. If your roof is steep or you spot multiple problem areas, have a professional from All Weather Exteriors perform a close-up inspection to quantify whether repair or full replacement is the smarter move.
Gutter Health Check For Debris Dangers and Ice Formation Risks
Leaves, twigs, and pine needles will accumulate over the summer and can create standing water in gutters by fall if you don’t clear them. Gutters should be pitched about 1/16–1/8 inch per foot toward downspouts; any visible sagging or water pooling deeper than roughly 12 mm (1/2 inch) after a rain indicates blockage or loose hangers. Blocked gutters not only overflow at the eaves in heavy rain, but they also set the stage for winter ice dams that can back water under shingles and into soffits and attic spaces.
Downspouts that discharge too close to the foundation are another common Winnipeg problem — extend them so runoff is carried at least 2 metres away. Consider installing leaf guards and checking bracket spacing (every 24 inches is a good rule) during your summer clean; these small fixes can prevent ice-related damage later. For peace of mind, plan at least two cleanings per year in Winnipeg: once mid-summer and once in the late fall.
Extra detail: ice dams form when heat escapes into the attic and melts snow on the upper roof while the eaves remain cold; clogged gutters force meltwater to pool at the eaves and refreeze. Installing a properly sloped gutter system — 5-inch or 6-inch K-style, depending on roof area — combined with clear downspouts, reduces the volume of water that can freeze at the eaves. If you already see frozen overflows or icicles early in winter, schedule preventive measures now: targeted gutter repairs, improved attic insulation, and professional heat-trace installation where needed.
Balancing Protection Around Roof Vents and Chimneys
Examine step flashing around walls, vent boots, and the chimney for gaps, lifted seams, rust, or failing sealant. A gap as small as 1/8 inch at a flashing joint can allow water infiltration under shingles during a thaw-refreeze event. For chimneys, check both the base flashing and counter-flashing; loose mortar and rusted flashings frequently show up in Winnipeg roofs that have experienced many freeze-thaw cycles.
Patch repairs with caulking alone often fail over a season or two because of thermal movement between metal and masonry. You should expect to replace sealants every 3–5 years in areas exposed to direct sunlight and wide temperature swings. When metal flashing is corroded or step flashing is not properly woven with shingles, ask your contractor about rewelding or replacing flashing with stainless or aluminum flashing and mechanically fastened counter-flashings for longer-term reliability.
Extra detail: Winnipeg’s annual temperature range — routinely from below –30°C in winter to above +30°C in summer — causes repeated expansion and contraction of flashing materials. That movement stresses fasteners and sealants, so specify fasteners that resist corrosion and sealants rated to operate across a wide temperature span (-40°C to +60°C). Properly installed step flashing and counter-flashing should sit flush against the roofline with no gaps; if you can slip a fingernail under a flashing edge, plan on an immediate repair.
Assessing Attic Leaks and Decking Issues
Water stains, dark streaks or soft spots in attic sheathing are the most telling signs of hidden damage and often precede visible interior leaks. If you find insulation that’s compacted or damp, or black mold spots along roof trusses, your roof has been wet long enough to cause secondary damage. A moisture meter reading above 18–20% on roof sheathing usually indicates active wetting and warrants rapid intervention.
OSB and plywood decking deteriorate quickly once wet: delamination, sagging, or nail pops are common indicators that sections of decking need replacement before new shingles are installed. In Winnipeg, letting a water-damaged roof sit through more freeze-thaw cycles multiplies repair costs, so replacing compromised decking and correcting the source of water should be part of any comprehensive summer inspection plan.
Extra detail: air leakage from the living space into the attic accelerates ice dam formation by warming the roof decks unevenly. Sealing attic bypasses (recessed lights, duct chases, and top plates) and bringing ceiling insulation to a target of R-50 to R-60 will significantly reduce the melt-refreeze pattern that creates ice dams. Combine attic air sealing with balanced intake and exhaust ventilation — aim for at least 1:300 ventilation ratio (or 1:150 when you have a vapor-permeable ceiling) to keep your roof deck cold and dry through Winnipeg winters.
Proactive Repairs: Key Actions to Take Before Winter Strikes
Schedule a professional roof assessment in late August or September so you catch damage while repairs are still easy to complete; Winnipeg’s freeze-thaw cycle typically starts in October, and a small defect that’s manageable in September can become a major leak by January. When you walk the roof with a certified technician from All Weather Exteriors, look for granule loss, curled shingles, missing nails, deteriorated sealant around vents and chimneys, and any soft or sagging decking in the attic—each of these signs is an early indicator that water will find a path in once ice builds up.
Prioritize fixes by risk and cost: patch holes and reseal flashings first, then address isolated shingle damage, and plan for full or partial replacement if more than roughly 15–20% of the roof shows wear or the shingles are over 18–20 years old. Typical emergency repairs in Winnipeg run from about $150–$600 for localized fixes, while partial replacements commonly fall in the $1,200–$4,000 range; investing now can prevent an interior water loss that often exceeds $5,000–$10,000 in repairs and drywall replacement after prolonged winter infiltration.
Leak Management: Addressing Minor Issues Before They Escalate
If you spot a dark stain on a ceiling, wet insulation, or rust streaks on attic fasteners, trace the source immediately rather than treating the symptom. Use a flashlight and a moisture meter in the attic to map wet areas; run a controlled hose test on the suspected roof section (have someone watch the attic while you work) to verify the leak path. Temporary measures like roofing cement or a self-adhesive patch can stop active seepage, but any area where the underlayment is saturated should be scheduled for a permanent repair—saturated felt or synthetic underlayment loses most of its waterproofing ability once soaked.
Mold growth and structural deterioration accelerate once water is inside, so act fast when you detect moisture: remove and replace damp insulation, cut out and dry any rotten sheathing, and replace compromised shingles or underlayment sections. In one Winnipeg semi-detached we inspected, a hairline gap at a vent stack that had been ignored for a season produced widespread attic mold and drywall staining; fixing the flashing and replacing insulation limited the repair bill to under $3,000 instead of a full interior renovation.
Gutter Cleanup: The Importance of Clear Water Flow
Clogged gutters are one of the most common triggers for ice dams in Winnipeg; leaves, poplar fluff, and seed pods can block flow and allow standing water to freeze at the eaves. Clear gutters at least twice before freeze-up—late August after the heavy seed drop and again in late October—and check downspouts for obstructions. Aim for a slope of approximately 1/4 inch per 10 feet so water moves efficiently toward the downspout, and extend downspouts at least 1.8–2.4 metres (6–8 feet) away from your foundation to prevent pooling that can freeze against your home.
Installing gutter guards can reduce debris buildup and your maintenance frequency, but they’re not a complete solution; some guards trap finer materials that still impede flow. During inspection, test the flow by running a hose along the eaves—slow drainage or overflow at seams indicates either a clog or a misaligned gutter that needs re-securing and resealing before ice arrives.
For Winnipeg winters, consider pairing cleaned gutters with heat cables in problem areas or adding a steeper pitch and longer downspout extensions on low-slope eaves; heat cables prevent ice bridge formation at the eave edge, while extended downspouts keep meltwater away from foundations where it can refreeze and cause frost heave.

Shingle Restoration: Repairing vs. Replacing Damaged Materials
Patch individual shingles when damage is isolated—lift the surrounding tabs, remove nails from the damaged shingle, slide a matching shingle into place, and secure with roofing nails and sealant on the tabs’ underside. Choose replacement shingles that match the profile and sealing strip; if your roof is older and specific color runs are discontinued, you may need to replace larger sections to achieve a uniform look. Replace the roof rather than repair when you see extensive granule loss, widespread curling, multiple leaks, or an age beyond 20 years, since repeated spot repairs on an aging assembly can cost more over time than a planned replacement.
Consider upgrading to architectural (laminate) shingles or higher-impact ratings if your roof shows wind or hail damage—Winnipeg’s summer storms can produce 90+ km/h gusts and occasional hail that shortens a shingle’s service life. When planning replacement, budget for underlayment upgrade and ice-and-water shield in eaves and valleys to protect against freeze-thaw-driven infiltration.
Material choice affects longevity: architectural shingles typically offer 25–30-year life, while higher-end impact-resistant products can extend that further—talk with your contractor about warranty options and local performance in Winnipeg’s climate before committing.
Flashing Reinforcement: Ensuring Robust Sealing Solutions
Examine chimney, step, valley, and vent flashings for rust, gaps, or failed sealant; improper flashing failures are a leading cause of winter leaks in the city. Replace corroded metal with stainless steel or aluminum flashing and ensure step flashing overlaps by at least 2 inches and is properly integrated under the shingles. For chimneys, install or repair counterflashing set into mortar joints and use a metal cap to prevent lateral water entry—sealants alone rarely provide a long-term fix where movement and temperature cycling occur.
Apply peel-and-stick or torch-grade waterproofing membranes in vulnerable areas—valleys, eaves, and around dormers—extending at least 1.8 metres (6 feet) up from the eaves in susceptible runs so meltwater from snowpacks is routed safely over the membrane instead of under it. Properly flashed roof intersections and correctly installed underlayment will prevent the most common winter failures and reduce emergency callouts.
When reinforcing flashing, insist on mechanical fastening and stainless steel fasteners where possible, and verify that any sealants used are rated for extreme freeze-thaw movement; silicone and polyurethane products designed for roofing maintain flexibility and adhesion in Winnipeg’s temperature swings better than generic caulks.
Strategic Enhancements: Upgrades for Long-Term Roof Resilience
Ice and Water Shield: Your Best Defense Against Frozen Conditions
Self-adhered ice and water shield forms a waterproof barrier where ordinary shingles are most vulnerable — the eaves, valleys, and around chimneys and skylights. In Winnipeg, you want that membrane installed at the eaves for at least 2–3 feet up from the interior wall and throughout valleys; that extra coverage directly reduces the risk of back‑ups from ice dams and stopped meltwater. Contractors in the city routinely specify a continuous strip across the first few feet of roof deck because a single seam or gap at the eave can let a small amount of water run once per thaw, then freeze and widen over repeated cycles.
Proper adhesion and placement make the difference between a short‑term bandage and a long‑term solution. Apply the membrane to a clean, dry deck and seal around pipe boots and flashings, and use corrosion‑resistant fasteners where required; if you see wrinkles, gaps, or exposed edges after installation, those are potential leak points. Improper installation is the main reason an ice and water shield fails, so have your ridge, eave, and valley work inspected after any major outing with thaw/freeze conditions.
Ventilation Excellence: Maintaining a Controlled Attic Environment
Balanced attic ventilation — matching soffit intake with ridge or high exhaust — keeps the roof deck temperature close to outside ambient and dramatically lowers the chance of ice dams forming at the eaves. A commonly used guideline is 1:300 net free ventilation (one square foot of NFA per 300 square feet of attic floor) for attics with a vapour retarder; many installers opt for 1:150 when additional moisture control is needed. Continuous ridge vent paired with full‑length soffit vents gives the most even airflow and avoids cold spots that trap meltwater.
Relying on powered attic fans can create negative pressure and draw warm, moist air through gaps and into the attic, which often defeats the purpose; passive, balanced systems are usually the best choice for homes in Winnipeg. Use attic baffles at every rafter bay to keep insulation from blocking the soffit pathways — without those baffles, even a well‑sized ridge vent will be starved of intake air.
To size ventilation for your home, calculate attic area and apply the guideline: for a 1,200 sq ft attic, you’d target roughly 4 sq ft of net free ventilation under the 1:300 rule (that’s about 576 square inches). Check product specifications for net free area — many soffit vents list 18–40 sq in each — and add them up; if you’re retrofitting, an infrared scan or blower‑door test will show where warm leaks are forcing extra ventilation needs.
Material Choices: Opting for Roofs Built to Endure Winnipeg’s Climate
The choice of roofing material changes how your roof handles repeated freeze‑thaw stress. Architectural (laminated) asphalt shingles typically offer better wind and impact resistance and a longer life (roughly 25–30 years) than economy 3‑tab shingles, while standing‑seam metal roofs can surpass 40 years and shed snow and ice more readily. Many Winnipeg homeowners upgrade to metal on high‑exposure slopes or choose premium polymer‑modified shingles in problem areas where repeated thawing has historically caused early wear.
Underlayments, flashings, and fasteners matter as much as the visible cover. Use synthetic underlayment for improved tear resistance during temperature swings, stainless or hot‑dip galvanized fasteners where salt and freeze cycles are present, and closed‑cell roof edge products to avoid water intrusion at rake and eave. Selecting materials with manufacturer ratings for freeze‑thaw and warranty terms that match Winnipeg’s weather will limit surprise repairs.
Factor long‑term cost and performance into your decision: metal has a higher upfront cost but lower maintenance and better snow‑shedding, while upgraded asphalt gives strong value per dollar with warranties up to 30 years. Talk with your roofing professional about warranty transferability, expected lifecycle in Winnipeg conditions, and local case studies — installers in the city can show you roofs that have handled 10–15 winters without significant intervention.
The Value of Professional Assessments: When to Seek Expert Help
After the visual checklist you can handle yourself—clean gutters, remove loose debris, check for obvious missing shingles—calling in a pro makes sense if you find signs of water infiltration, sagging, or clustered granule loss. A licensed roofing contractor will perform a hands-on inspection that goes beyond what you can see from the ground: lifting shingles to check the felt underlayment, probing for soft decking, and testing ventilation rates. Industry standards recommend a full inspection at least once a year and immediately after any severe storm; in Winnipeg, that often means scheduling inspections in late summer and again in early fall to prepare for the aggressive freeze-thaw period.
Hiring All Weather Exteriors gives you access to measurable diagnostics rather than guesswork: infrared scans to spot trapped moisture, moisture meter readings in the attic, and documented condition reports. These assessments commonly uncover problems that accelerate winter damage—failed flashings around chimneys, torn eavestroughs directing water under shingles, or degraded ice-and-water shield—issues that, if left alone, can convert a $200 repair into a $2,000 to $10,000 roof replacement. You lower your long-term costs and reduce the risk of interior damage by acting on professional findings before freeze-up.
Recognizing Limitations: The Risks of DIY Roof Maintenance
Climbing onto your roof in Winnipeg without fall protection or proper footwear increases the likelihood of slips on metal flashing or frost-slick shingles—more homeowners get injured on ladders than from roofing failures. You might spot curled edges or missing shingles, but subtle problems such as delaminated underlayment, micro-cracks in polymer-modified membranes, or compromised fastener seals require trained inspection techniques and tools to detect. Misapplied sealants or incorrect shingle replacement techniques can void manufacturer warranties and accelerate deterioration rather than stop it.
Attempting more extensive repairs also exposes you to hidden hazards like confined attic spaces with poor ventilation, exposed wiring, or contaminated insulation. One common mistake in Winnipeg is underestimating the effect of repeated freeze-thaw cycles on patched areas: a poorly installed patch often fails within one winter, leading to ice dams and interior leakage. Letting professionals handle anything beyond routine cleaning significantly reduces the chance of dangerous rework and added expense.
Professional Insight: How Experts Identify Overlooked Issues
Technicians from All Weather Exteriors use a systematic approach: exterior survey, ladder-access close-up, attic inspection, and targeted diagnostics. During the attic check, they measure temperature differentials and inspect for hidden moisture stains, roof deck rot, and inadequate insulation—common contributors to ice dam formation. On the roof, they evaluate fastener patterns, flashing terminations, and shingle adhesion; small anomalies like a single failed step flashing can indicate larger flashing system failures at valleys and penetrations.
Specialized tools make a difference: infrared thermography helps pinpoint trapped moisture behind sheathing, while moisture meters quantify saturation levels that visual inspection misses. Professionals also check for code and warranty compliance—correct ice-and-water shield placement, ventilation rates (aspirated vents vs. static), and flashing details—which directly affect performance during Winnipeg’s freeze-thaw swings. Tackling these hidden problems before temperatures drop reduces the chance of mid-winter emergency repairs.
Field experience matters: installers who handle hundreds of Winnipeg roofs recognize repeating patterns—attic insulation pulled away at roof edges, improperly routed plumbing vents creating backflow points, or valley underlayment trimmed too short—that a homeowner rarely spots. That pattern recognition enables targeted repairs that extend roof life by years and prevent failures that often surface only after several freeze-thaw cycles.
Peace of Mind: The Long-Term Benefits of Professional Inspections
Scheduling regular inspections with a trusted local roofing company not only addresses immediate defects but builds a maintenance record valuable for resale and insurance claims; documented inspections showing proactive care can reduce insurance disputes after storm events. You gain a prioritized action plan—what needs fixing now, what can wait, and what to monitor—so your budget goes to the most impactful repairs first. In many cases, addressing ventilation imbalance or replacing a short section of flashing delays full roof replacement by 3–7 years, saving you thousands.
Warranty coverage and workmanship guarantees provided by established contractors mean repairs are backed; All Weather Exteriors typically offers both manufacturer-backed material warranties and contractor workmanship warranties that protect you through Winnipeg’s extreme conditions. That protection, paired with routine inspections, turns reactive emergency fixes into predictable maintenance with better outcomes for your home and wallet.
Long-term, the biggest benefit you’ll notice is fewer surprises during thaw cycles: less ice damming, fewer leaks, and a roof that handles repetitive freeze-thaw stresses without accelerated failure. That reliability directly translates into lower overall lifecycle costs and greater comfort for your household during Winnipeg winters.

FAQs About The Impact of Freeze-Thaw Cycles On Roof
What is the freeze-thaw cycle, and why should Winnipeg homeowners care about it this summer?
The freeze-thaw cycle happens when water soaks into small cracks or under roofing materials, freezes as temperatures dip, and then expands and melts when it warms up. In Winnipeg, we get big temperature swings—cool nights and warm days, plus late-season spring freezes and early fall chills—which means that even in summer your roof can go through multiple mini freeze-thaw events. Over time, those cycles widen cracks, loosen shingles and flashing, and let water work its way in. With Winnipeg’s mix of sun, wind, and occasional summer storms (including hail), taking a few steps now can save you from leaks and bigger repairs once the real freeze season returns.
What signs of freeze-thaw damage should I look for on my roof and inside my home?
Walk the perimeter and take a look from the ground and from your attic. Outside, check for curling, cracked, or missing shingles, exposed or lifted flashing around chimneys and vents, and clumps of granules in gutters or at the downspouts. After a storm, inspect for dents from hail and any new gaps where water could enter. Inside, watch for new water stains on ceilings or along exterior walls, damp insulation, or musty smells in the attic. Even small nail pops or soft spots in sheathing can indicate water has been getting in and being subjected to freeze-thaw stress.
What practical steps can I take this summer to prepare my roof for freeze-thaw cycles?
Start with a thorough clean and check: clear leaves and debris off the roof and gutters so water drains properly, and make sure downspouts direct water well away from the foundation. Trim back overhanging branches to prevent damage and shade that traps moisture. Inspect and reseal flashing and roof penetrations (vents, skylights, chimneys). Improve attic insulation and ventilation so the roof deck stays closer to outdoor temperature and reduces ice-related stresses later on. If you spot loose or damaged shingles, get them repaired or replaced quickly—small fixes now stop bigger problems later. If you’re planning a re-roof, ask about ice-and-water shield underlayment and higher-grade shingles made for Manitoba’s climate.
When should I call a professional roofer, and what will a company like All Weather Exteriors do for me?
Call a pro if you find leaks, visible shingle or flashing damage, soaked or sagging attic insulation, or if your roof is older (15+ years for many asphalt shingle roofs). All Weather Exteriors, the number 1 Winnipeg roofing company, will perform a full inspection (including attic checks), identify vulnerable areas, and provide a clear repair or replacement plan. Pros can safely replace flashing, install ice-and-water barrier in vulnerable zones, fix ventilation or insulation issues, and match shingle materials to local weather demands. It’s a good idea to book early in summer—roofers get busy, and advance scheduling helps you get the work done well before temperature swings increase.
How much will preparing my roof cost, and will insurance cover freeze-thaw damage in Winnipeg?
Costs vary. A basic inspection is often complimentary or low-cost; minor repairs like replacing a few shingles or resealing flashing can be a few hundred dollars; more extensive repairs or partial re-roofing can run into the thousands. Full roof replacements depend on size and materials, and commonly range higher—your contractor will give a detailed estimate. As for insurance, standard homeowner policies usually cover sudden, accidental damage (like a storm or hail) but not wear-and-tear from long-term neglect. Take photos before and after storms, keep records of maintenance, and ask your insurer what types of roof damage are covered. If you’d like, All Weather Exteriors can help document damage and provide professional estimates for insurance claims.
Summing up
Ultimately, preparing your Winnipeg roof for the summer freeze‑thaw cycle means being proactive: inspect and repair loose or damaged shingles and flashing, clear gutters and downspouts, keep vents and attic insulation in good shape to control temperature swings, and remove debris and overhanging branches that can trap moisture. Those rapid temperature changes you get in Winnipeg can widen small cracks and lift shingles, so addressing minor issues now helps prevent leaks and bigger repairs when temperatures flip between warm days and cold nights.
If you’d rather leave the technical work to local professionals, schedule an inspection with All Weather Exteriors early in the season so you catch problems while they’re still small. Regular maintenance and timely repairs will help your roof last longer through Winnipeg’s unique climate, protect your interior from water damage, and give you peace of mind when the next freeze‑thaw cycle arrives.
Leave a Reply
You must be logged in to post a comment.