How To Fix Shingles – Curling, Damaged And Torn
You can effectively restore your roof by addressing issues like curling, damaged, and torn shingles. These problems not only compromise the aesthetic appeal of your home but can also lead to serious water damage if left unattended. In this guide, you’ll learn the important steps on how to fix shingles – to identify, repair, or replace shingles, ensuring your roof remains durable and protected. Tackle these repairs yourself to save on costs and maintain the integrity of your home.
Key Takeaways:
- Assess the damage: Inspect the shingles thoroughly to determine the extent of curling, damage, or tearing before deciding on a repair method.
- Choose the right materials: Use a compatible roofing adhesive, sealant, or new shingles that match your existing roof for effective repairs.
- Follow safety precautions: Ensure the use of proper safety gear and equipment, such as harnesses and ladders, when working on a roof.
- Repair curling shingles: Apply heat with a heat gun or hairdryer to soften the adhesive, and then press the shingles back into place, sealing the edges with roofing cement.
- Replace torn or damaged shingles: If shingles are beyond repair, remove them carefully and install new ones, ensuring proper alignment and sealing to prevent leaks.
Assessing the Damage: Identifying Shingle Issues
Recognizing Curling and Buckling
As you examine your roof, start by looking for signs of curling or buckling shingles. Curling occurs when the edges of the shingles lift away from the roof, often caused by exposure to extreme weather conditions, aging, or poor ventilation. Signs of buckling, on the other hand, take the form of larger, more pronounced waves in the shingle material. This phenomenon can lead to a reduction in your roof’s protective capabilities, allowing water to seep in and cause further damage. If you spot extensive curling or buckling, it may be a clear indicator that it’s time to replace those damaged shingles.
In some cases, curling shingles might be limited to only a few, making it tempting to overlook the issue. However, even a single curling shingle can compromise your roof’s integrity, especially during heavy rain or snowfall. Consider conducting a thorough inspection after any severe weather events to assess if your shingles have been affected. With time, the problems can escalate, leading to more costly repairs down the line.
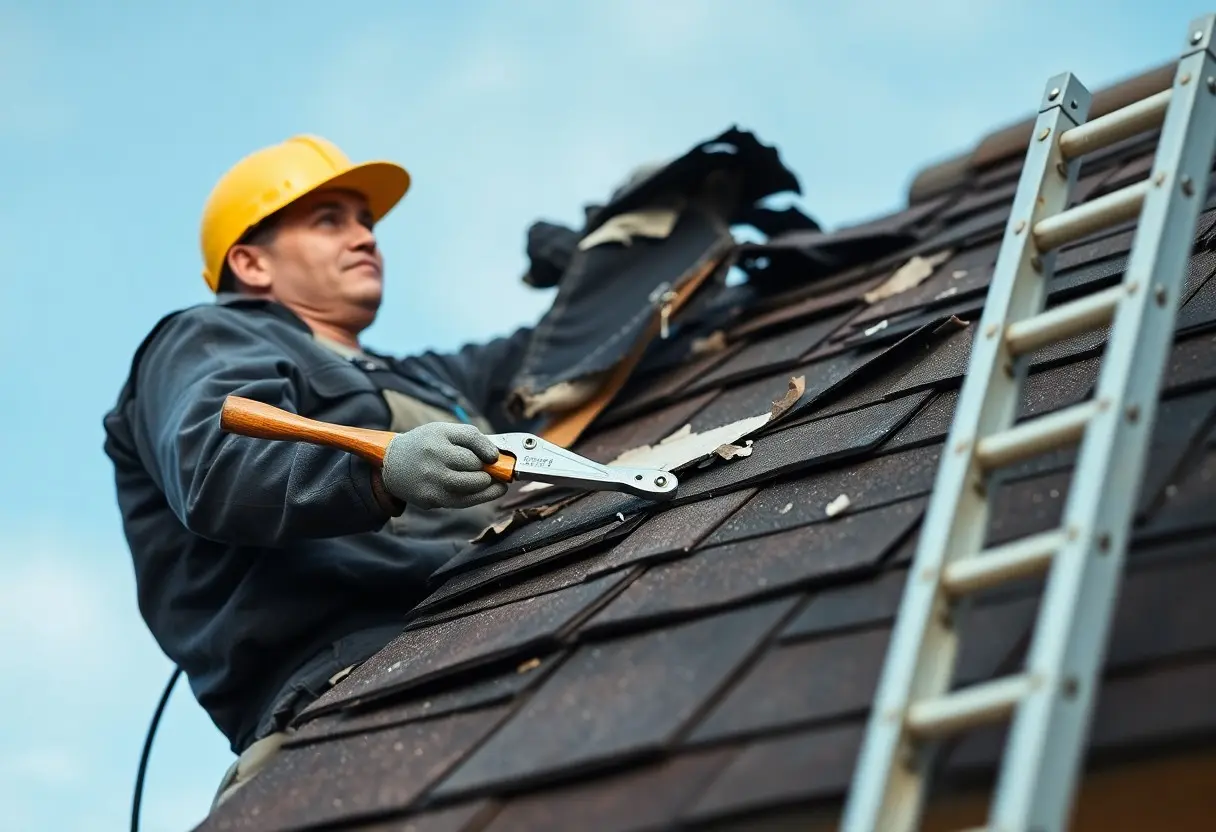
Spotting Tears and Holes
Tears and holes in shingles can be less visible, especially from the ground. To effectively identify these issues, take a closer look at the surface of your roof while being cautious of your footing. A tear may appear as a visible stretch or a split in the material, while holes can result from debris impact or age-related deterioration. Both of these issues compromise the protective barrier your roof provides, increasing the risk of leaks and subsequent water damage to your home.
While inspecting for tears and holes, check the areas around chimneys and vents too. These hotspots can often be prone to wear and tear due to expansion and contraction from temperature fluctuations. If necessary, enlist the help of a professional for a more comprehensive evaluation, especially if you’re uncertain about the extent of potential damage. Addressing these problems promptly will save you from escalating repairs and additional costs related to water damage.
Tools You’ll Need: Equipping for Repair
Essential Tools and Materials
Preparation for shingle repair requires a few key tools and materials to ensure the process goes smoothly. You’ll need a ladder that is stable and tall enough to safely reach your roof, as well as a utility knife or a roofing knife to cut any damaged shingles with precision. A hammer or a nail gun equipped with roofing nails is imperative for securing new shingles in place. Don’t forget to stock up on roofing cement or caulk for sealing any leaks that may result from the repair work. Additionally, a pry bar can help you remove any torn or damaged shingles quickly and effectively.
Gathering a roll of roof underlayment will also be beneficial, especially if you find that the damage is more extensive or if you’re replacing multiple shingles. Keeping a quality pair of work gloves handy allows you to protect your hands while handling sharp materials. Safety goggles can protect your eyes from falling debris, and a dust mask is a smart choice to avoid inhaling any particulates as you work. Make sure you have a tarp ready to catch any debris during the repair process, which can help keep your working area clean and safe.
Safety Precautions and Best Practices
Working on a roof can pose serious safety risks, which means taking appropriate precautions before starting your repairs. Always inspect your ladder to ensure it’s in good condition and placed on level ground before climbing. Wear slip-resistant shoes to decrease the risk of accidents while on the roof. Inspect the weather conditions; avoid working in rainy, windy, or icy conditions that can make your work area hazardous.
Maintaining communication with someone on the ground can enhance your safety and make it easier to handle tools or materials you might need. If you’re working on steep roofs, consider using a harness tied off to a secure point to prevent falls. Storing tools properly and keeping your workspace organized minimizes the chances of accidents, allowing you to focus on the repair instead of searching for misplaced items.
Prioritizing safety not only protects you but also enhances the efficiency of your repair work. Wear protective gear at all times, follow best practices while climbing and working, and ensure that your surroundings are as safe as possible. This attention to detail will make a significant difference, especially during periods of extended repair work. Taking these precautions seriously ensures you can complete the job without unnecessary risks and with a satisfied mind knowing you’ve done it safely.
Steps on How To Fix Shingles: Fixing Curling Shingles
| Technique | Description |
| Infrared Heat Method | Utilize a heat gun to gently warm the curled edges, allowing them to soften and lay flat against the roof. |
| Gluing Down the Edges | After realigning, apply roofing cement or adhesive under the edges to secure them in place. |
| Using Weights | Apply a weight (like a brick) over the glued area until the adhesive cures, ensuring a tight seal. |
| Sealing Joints | Seal any gaps in the shingles with additional roofing cement to prevent future curling. |
Techniques for Re-aligning and Gluing
Addressing curling shingles starts with precision in the realignment process. Use an infrared heat gun, applying gentle heat to the curled edges, which makes the material pliable and allows you to press it back into its original position. Once the shingles are flat, apply a generous amount of roofing cement or adhesive to the underside of the edges. This not only secures the shingles back to the decking but also helps to create a waterproof bond.
After placing the shingles back, weigh them down using bricks or other suitable objects to maintain contact until the adhesive fully cures. This technique ensures that the shingles stay in place permanently, minimizing the risk of future issues. An extra tip: make sure that the area is dry and clean before applying cement, as moisture can lead to weak adhesion.
Temporary vs. Permanent Solutions
Deciding whether to implement a temporary fix or a long-term solution depends on the extent of the damage and your budget. For minor curls, using adhesives and weights can provide a temporary fix that might last for several months or even a few years. These interventions serve as a stopgap, enabling you to delay a full roof replacement while monitoring any further damage.
On the other hand, for shingles facing significant wear or repeated curling, addressing the underlying issues through a permanent solution becomes important. This involves either replacing the affected shingles or reinforcing the roof structure to prevent future curling. Investing in high-quality materials during repairs ensures that the issue doesn’t recur, ultimately saving you money and hassle in the long run.
Choosing between temporary and permanent solutions reflects your immediate needs and impacts your roof’s long-term health. When opting for a temporary fix, be prepared to monitor the situation closely and plan for a comprehensive repair in the near future to maintain the integrity and performance of your roofing system.
Restoring Damaged and Torn Shingles
After identifying and assessing the damage to your shingles, the next step is to implement effective repair strategies. Whether you encounter small holes or extensive damage, knowing how to restore your shingles can save you from costly replacements and potential structural issues. Starting with patch repairs for minor penetrations can effectively protect your roof’s integrity, while more severe shingle damage will necessitate a full replacement process. Your ability to execute these techniques might require minimal tools and materials, making it a manageable DIY endeavor.
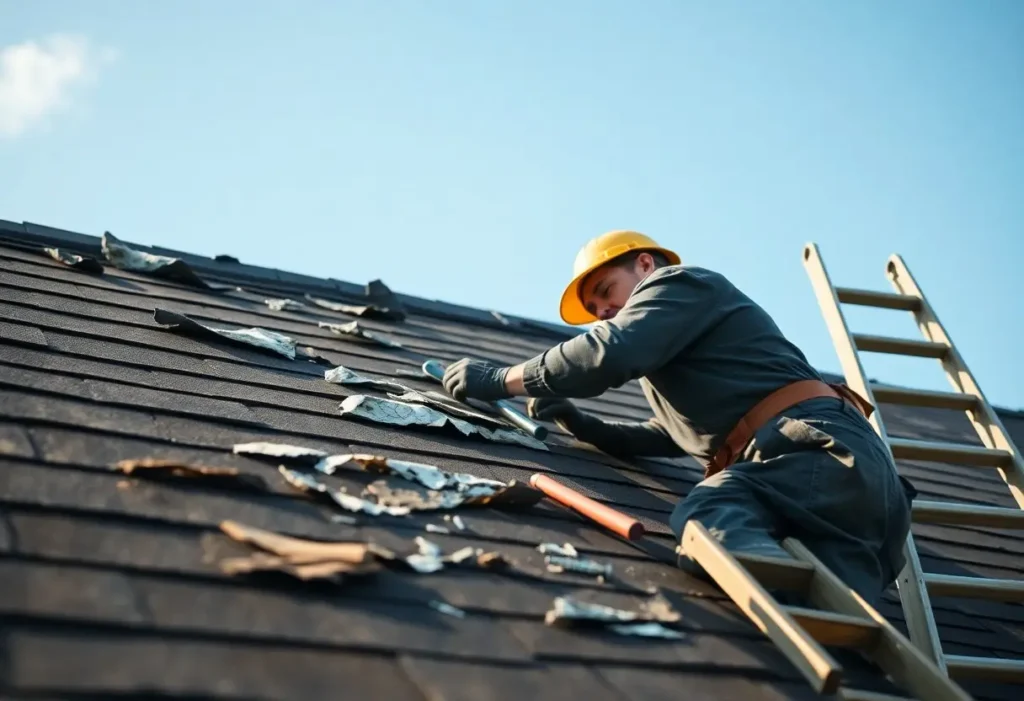
Patch Repair Techniques for Small Holes
Patching small holes in shingles is a straightforward process that helps avert larger leaks. Begin by cleaning the area around the hole thoroughly to ensure proper adhesion. You can use a utility knife to trim away any frayed edges or debris. A high-quality roofing cement works best for patching; apply it generously over the hole, filling it, while also spreading it slightly beyond the damaged area to secure its edges. After applying the cement, press a piece of shingle material or flashing over the patch, and seal it again with more roofing cement to create a watertight seal.
For a more durable solution, consider using an asphalt patching compound that can be smoothed over the hole after applying roofing cement. This method not only fills the space but also adds a waterproof barrier. Allow your patch to cure for the recommended time on the product label, ensuring it sets properly before exposing it to the elements.
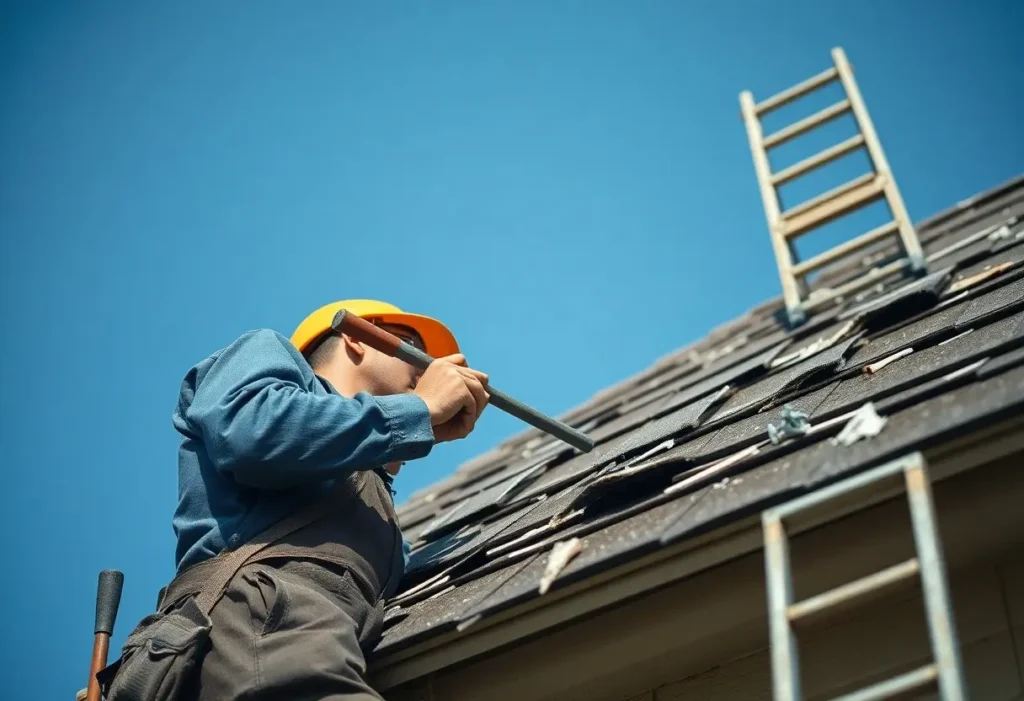
Full Replacement Procedures for Severely Damaged Shingles
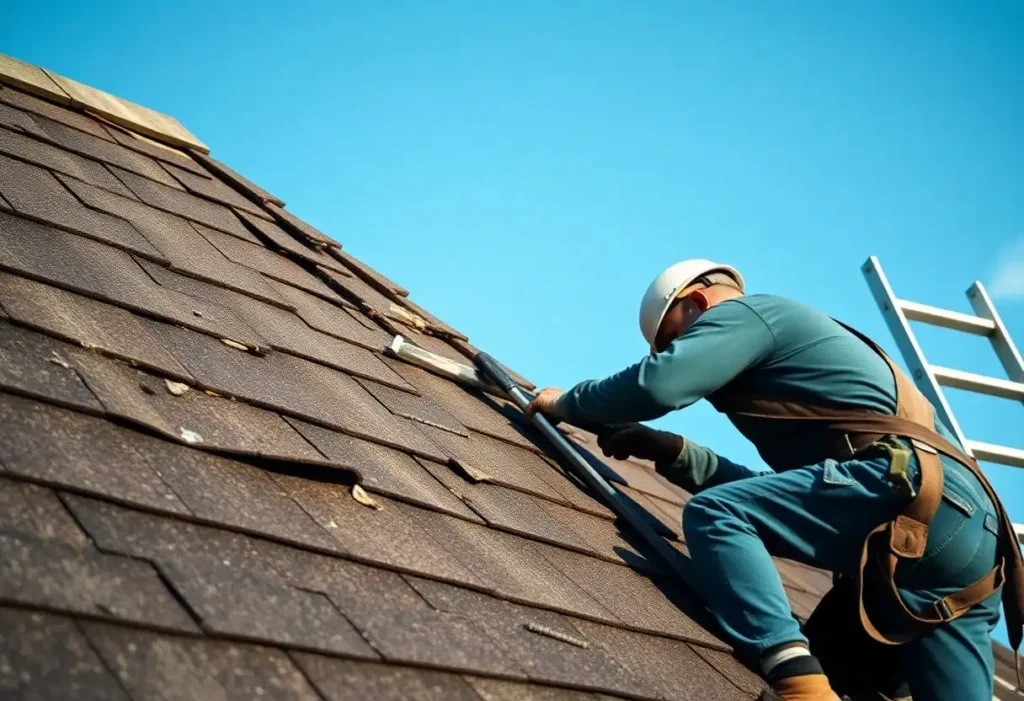
Severely damaged shingles require complete removal and replacement to safeguard your roof from further deterioration. Start by lifting the shingles adjacent to the damaged ones and removing the nails holding the compromised shingles in place. Utilize a pry bar or a shingle remover tool for this task to avoid damage to the surrounding shingles. Once the defective shingles are removed, inspect the underlayment for any signs of wear or leaks—replace it as necessary to maintain a solid foundation for your new shingles.
After preparing the area, position the new shingles according to your roof’s layout, securing them with roofing nails or adhesive as recommended. It may be beneficial to use shingles that match the existing ones in color and style for a cohesive appearance. Properly sealing the edges with roofing cement will also help prevent water intrusion. Your repair work should be carefully evaluated for alignment with surrounding shingles and integrity to withstand adverse weather conditions.
Full replacement procedures for severely damaged shingles can come with additional considerations. Choosing the right materials is fundamental; opt for shingles that not only match your house’s aesthetic but also offer enhanced durability against adverse weather conditions. Make sure to overlap the new shingles appropriately to align with the roofing system’s design. After securing each shingle, a diligent inspection around flashings and seams is important, as these areas are prone to leaks if not adequately installed. Engaging in this meticulous process ensures your roof remains watertight and continues to provide the protection your home deserves.
Preventative Measures: Keeping Your Roof in Top Shape
Regular Inspections and Maintenance Tips
Performing regular inspections of your roof keeps it in strong condition and helps identify issues early. Schedule inspections at least twice a year, ideally in spring and fall, to detect any signs of curled shingles and damaged areas. Look for granule loss, rusted flashing, or patches of moss which can lead to more significant problems if ignored. After severe weather events, it’s crucial to conduct a thorough inspection to assess any potential damage.
- Inspect shingles for curling or lifting
- Check gutters and downspouts for clogs
- Look for signs of water damage on the underside of your roof
- Examine seals around vents and chimneys for compromise
This proactive approach can help you catch problems before they necessitate more extensive repairs or replacements.
Environmental Factors to Monitor
Keep an eye on the environmental elements surrounding your home that may impact your roof’s longevity. Factors such as excessive tree cover, which increases the likelihood of debris accumulation, can harbor moisture and promote mold growth, weakening your roof over time. Additionally, seasonal changes can bring ice dam formation in colder months, which can lead to leaking and further damage if not managed properly.
- Monitor for overhanging branches that could cause scrapes
- Track heavy rainfall and snow accumulation in winter
- Pay attention to temperature swings, causing expansion and contraction
- Be aware of wind conditions that can lift shingles
Assume that consistent monitoring of these factors could expedite maintenance needs, ensuring your roof stays sheltered from wear and tear.
Shading from trees can also create conditions for moss and algae to thrive, which can result in due erosion of your shingles. Establishing a landscape maintenance routine to trim back branches and clear falling leaves can prevent accumulation and moisture content from rising. In addition, understanding your local climate’s impact helps you take the right measures to shield your roof effectively.
- Consider using mold-resistant shingle materials
- Instigate proper drainage systems to manage water flow
- Utilize heat cables to reduce ice formation
- Implement adequate ventilation to combat humidity
Assume that this knowledge equips you to better protect your roof over time and extend its lifespan significantly.
Frequently Asked Questions
What are shingles, and what causes them to curl or become damaged?
Shingles are the individual tiles or pieces that make up a roof covering. They can curl or get damaged due to a variety of reasons, including exposure to extreme weather conditions, inadequate ventilation in the attic, improper installation, aging, or moisture accumulation. Additionally, UV rays from the sun can deteriorate shingles over time, leading to curling and cracking.
How can I identify if my shingles are damaged?
Signs of damaged shingles include curling edges, missing pieces, cracks, and discoloration. You may also notice granule loss in the gutters or around the foundation, which indicates that the shingles are breaking down. Regular roof inspections can help identify these issues early before they lead to more significant damage.
Can I repair damaged shingles myself, or should I hire a professional?
Minor repairs, such as replacing a few missing shingles or sealing small gaps with roofing tape or sealant, can often be done DIY. However, for extensive damage, such as replacing entire sections of roofing, or if safety is a concern, hiring a professional roofer is recommended. They have the expertise and equipment to safely manage repairs and ensure the roof’s integrity is maintained.
What steps should I take to fix curling shingles?
To fix curling shingles, you can apply a roofing adhesive under the curled edges to flatten them back down and secure them in place. Additionally, if the shingles have lost their flexibility or are badly curled, replacing them is advised. Ensure appropriate ventilation in your attic to prevent future curling and consider upgrading to higher-quality shingles that are more resistant to warping.
How can I prevent my shingles from getting damaged in the future?
To prevent future damage, perform regular roof inspections, maintain proper attic ventilation, and ensure any overhanging tree branches are trimmed away from the roof. Regular cleaning of gutters and removing debris can help reduce moisture buildup. Additionally, applying protective coatings or choosing high-quality shingles may contribute to increased durability against the elements.
Summing up
Drawing together all the strategies discussed, you now have a comprehensive approach to addressing issues with shingles, whether they be curling, damaged, or torn. You should always start by thoroughly inspecting your roof to identify specific problem areas. If your shingles are curling, you can often use a heat gun or secure them with roofing adhesive. For damaged shingles, consider replacing them entirely, ensuring you select the correct match for your existing roof. When dealing with torn shingles, you can often patch them up with roofing cement for a quick fix, or, if necessary, replace them for long-term durability.
Taking the right steps not only restores the integrity of your roof but also enhances your home’s overall protection against the elements. It’s advisable to regularly maintain your shingles to prevent future issues, ensuring that minor problems don’t escalate into major repairs. By being proactive and vigilant, you will extend the lifespan of your roof and safeguard your home’s value and comfort.
Leave a Reply
You must be logged in to post a comment.