5 Most Important Steps For Effective Asphalt Roof Repair
Knowing how to repair your asphalt roof properly can save you time and money while ensuring long-lasting protection for your home. It’s important to take action swiftly when your roof suffers from leaks or damage. This blog post will guide you through the 5 most important steps to effectively tackle asphalt roof repair, empowering you to maintain your roof’s integrity and prevent further issues. Your proactive approach can lead to a healthier living environment and enhanced property value.
Key Takeaways:
- Conduct a thorough inspection to identify the extent of damage and specific areas that need repair.
- Choose the appropriate materials for the repair, ensuring they match the existing roof type for optimal performance.
- Prepare the repair area by cleaning and removing any loose debris or damaged shingles for a solid foundation.
- Apply the repair materials carefully, following the manufacturer’s instructions to ensure proper adhesion and waterproofing.
- Monitor the repaired area regularly after completion to catch any potential issues early and maintain roof integrity.
Assessing Roof Damage: The First Step
Identifying Visible Signs of Wear and Tear
Start by walking around your property and observing your asphalt roof from various angles. Look for cracks, blisters, or curling shingles as these are often signs of wear that require immediate attention. If you notice any granule loss, which appears as dark patches on the roof, it’s indicative of aging and potential leaks. Pay attention to areas where the roof meets walls or chimneys, as these junctions are prone to damage and may require extra scrutiny.
Additionally, check for any missing or loose shingles. A basic roof check can help you avoid big problems later. Also, watch out for mold or algae—they don’t just make your roof look bad, but they can also cause the wood to rot and weaken the roof’s structure.
Conducting a Professional Roof Inspection
If you spot any potential problems, it’s best to contact an expert to examine your roof. Certified inspectors have the skills and tools to find issues that you might miss. They will assess the overall condition of not only the shingles but also ventilation systems, flashing, and underlayment, ensuring that all potential issues are accounted for.
A detailed inspection often includes infrared scanning to detect moisture that could compromise your roof, as well as evaluating the roof’s slope and drainage system. These experts can provide you with a detailed report outlining necessary repairs, helping you prioritize immediate actions against long-term improvements, which is important for injury prevention and financial budgeting.
Gathering Essential Tools and Materials
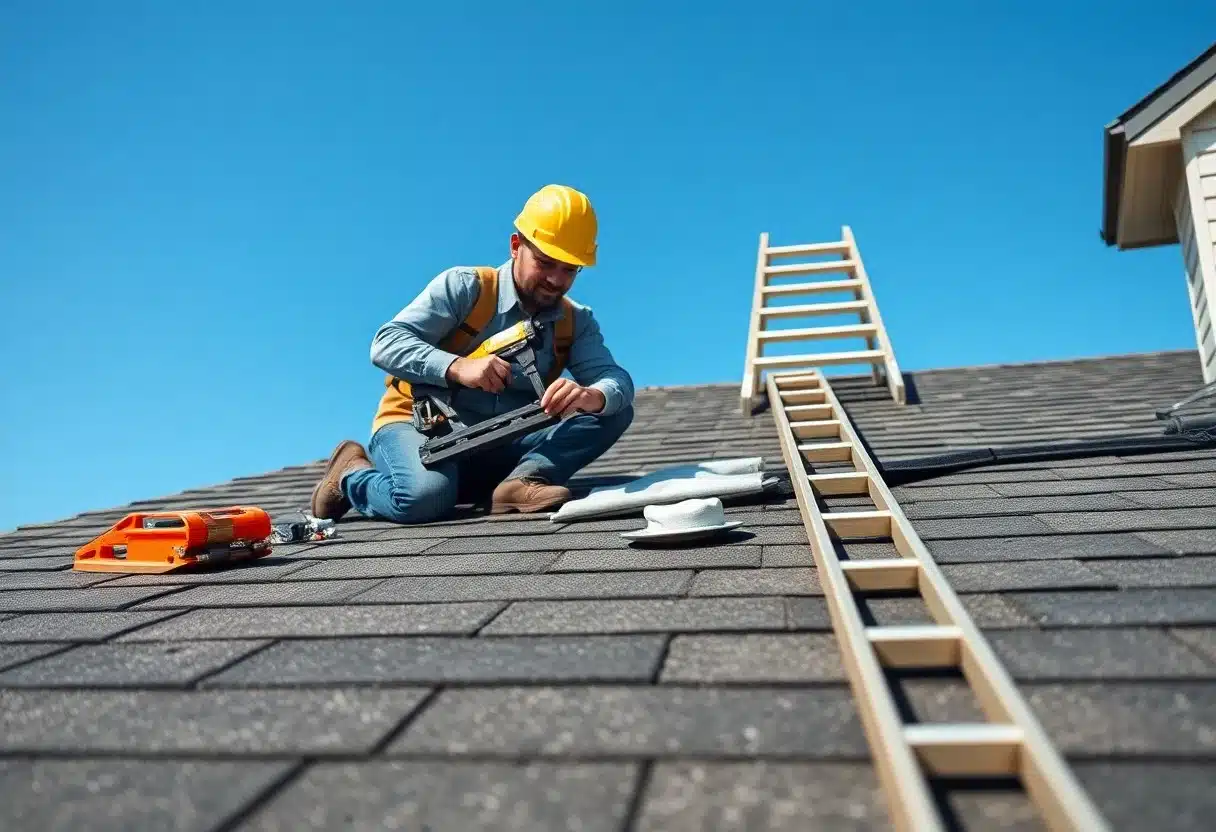
Before entering into the repair work, you’ll want to ensure you have all the necessary tools and materials at your fingertips. A well-prepared toolkit can significantly streamline the process, saving you time and headaches once you’re on the roof. Start with basic tools such as a ladder that safely reaches the height of your roof, a utility knife for cutting damaged shingles, and a putty knife for sealing any gaps.
Additionally, don’t overlook a hammer or nail gun for securing new shingles and roofing nails; these are indispensable for a stable and long-lasting repair. Depending on the severity of the damage, you might also need roofing cement and replacement shingles that match your existing roof to maintain aesthetics and ensure a cohesive look.
Must-Have Supplies for a Successful Repair
Alongside crucial tools, stock up on supplies specifically designed for asphalt roof repairs. Asphalt roofing cement serves as an excellent adhesive for bonding new shingles and sealing cracks. A roll of roofing underlayment is useful for providing extra waterproofing under your new shingles, especially in areas prone to leaks.
Invest in quality asphalt shingles that match the type and color of your existing roofing material. This is key for maintaining the home’s visual appeal while ensuring proper functionality against weather elements. Having all these items ready beforehand can turn a labor-intensive process into a smoother operation, allowing you to stay focused on the task at hand without unnecessary interruptions.
Safety Gear: Protecting Yourself During the Process
Handling roof repairs involves inherent risks. To safeguard yourself, equip yourself with reliable safety gear before climbing up for work.
A sturdy helmet can protect your head from any falling debris, while slip-resistant boots provide the traction needed on pitched roofs that can become dangerously slippery when wet.
Wearing gloves can reduce the chances of cuts or scrapes when dealing with sharp tools and materials, ensuring a more secure grip and keeping your hands protected. If you find yourself working on an exceptionally high or complex roof, consider using a safety harness to provide extra stability and prevent falls.
Utilizing safety gear not only protects you physically but also aids in promoting a confident mindset while working at heights. You can focus diligently on your repair tasks without constantly worrying about potential slips or mishaps.
Make it a habit to double-check your gear before starting the workday; this technique enhances your safety and establishes discipline in your approach, enabling you to complete the job efficiently and effectively.
Preparing the Roof Surface for Repair
Getting ready is the first step to fixing an asphalt roof successfully. Before applying any materials, ensure the roof surface is in the best possible state to accept the repairs. Thoroughly assess the area in need of attention, identifying any damaged shingles or underlying issues.
This comprehensive inspection allows you to plan the necessary repairs effectively, preventing future complications or the need for repeated work. Pay special attention to the seams and joints, as these are often susceptible to wear and tear. Having the right tools at hand, such as a pressure washer or broom, will greatly aid in your efforts.
Cleaning and Removing Debris Effectively
Start by cleaning the roof. Remove any dirt, leaves, branches, and moss because they can trap moisture and cause more damage if not taken away. Use a broom or leaf blower to clear loose debris, and if you encounter tougher accumulations, a low-pressure washer can help remove stubborn grime without causing additional damage.
After cleaning, inspect for any loose granules from shingles, as these can signify deeper problems. The goal is to create a clean surface that helps repair materials stick better.
Ensuring Proper Weather Conditions for Repair
Weather conditions have a major impact on how effective your asphalt roof repair will be. Ideally, repairs should be completed on a dry day with temperatures ranging between 50°F and 85°F. This range offers the best conditions for the adhesive properties of your materials to perform optimally.
Making repairs in extreme heat or cold can lead to inadequate bonding, which compromises the repair’s integrity over time. Moreover, avoid working in wet conditions, as moisture can hinder the curing process and expose your roof to further damage.
Monitoring the weather forecast before starting any repair work will save you time and ensure that your efforts yield the desired results. Consistently checking overnight temperatures, as well as expected precipitation, allows you to plan your repairs more efficiently.
Additionally, consider allowing ample time for the materials used during the repair to set before any predicted inclement weather arrives. Proper timing combined with favorable conditions makes for a much smoother repair process and contributes to the longevity of the work you’ve performed.
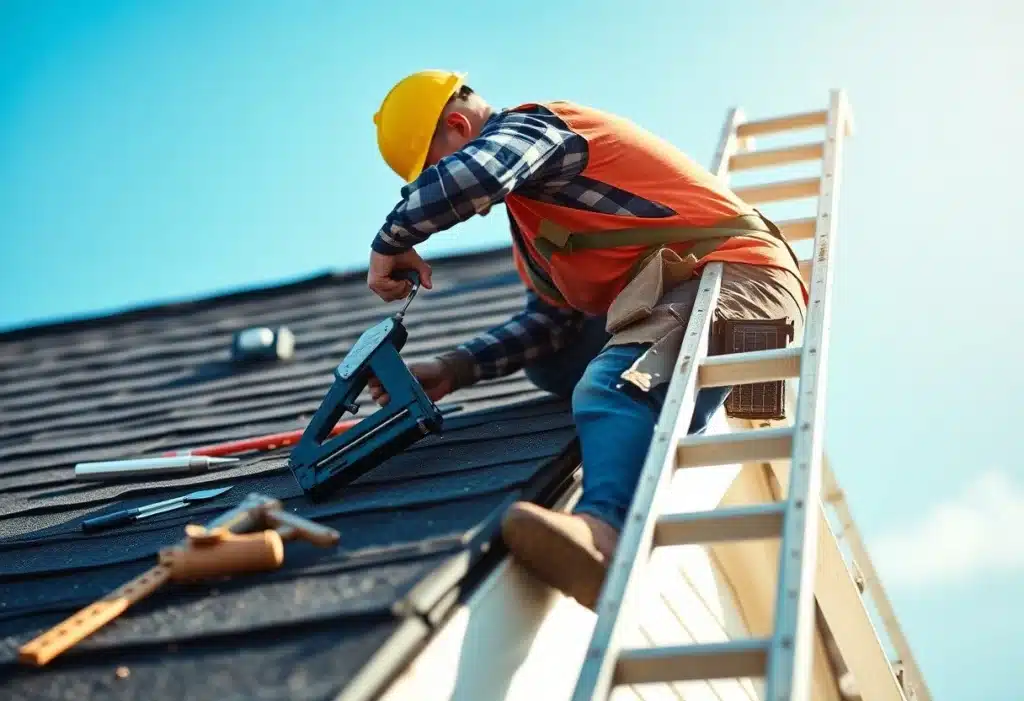
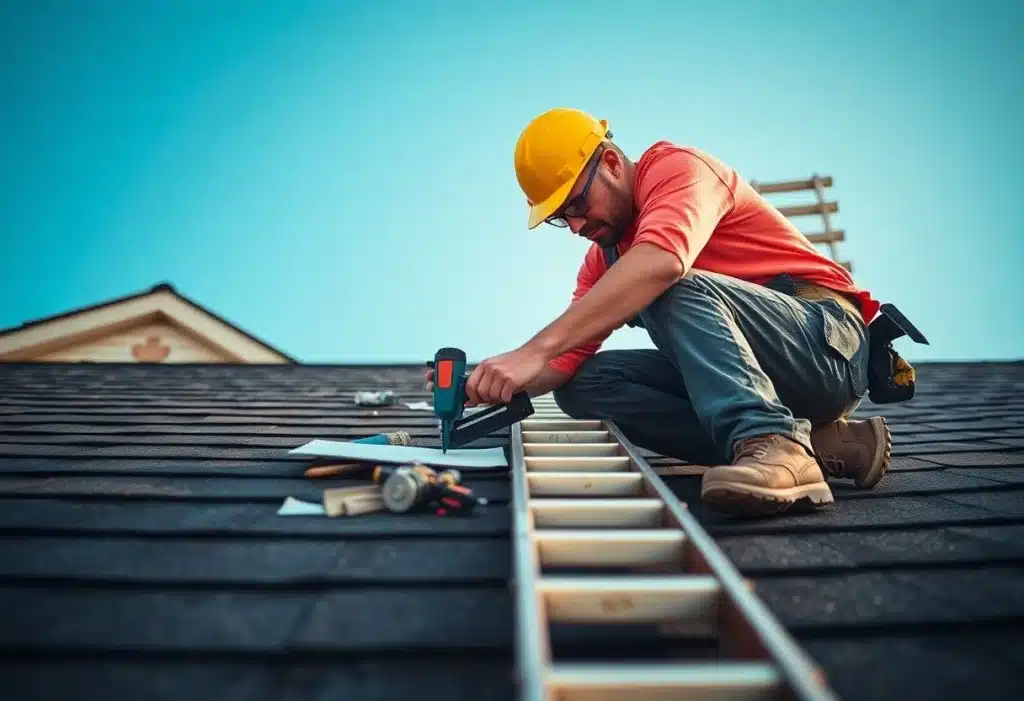
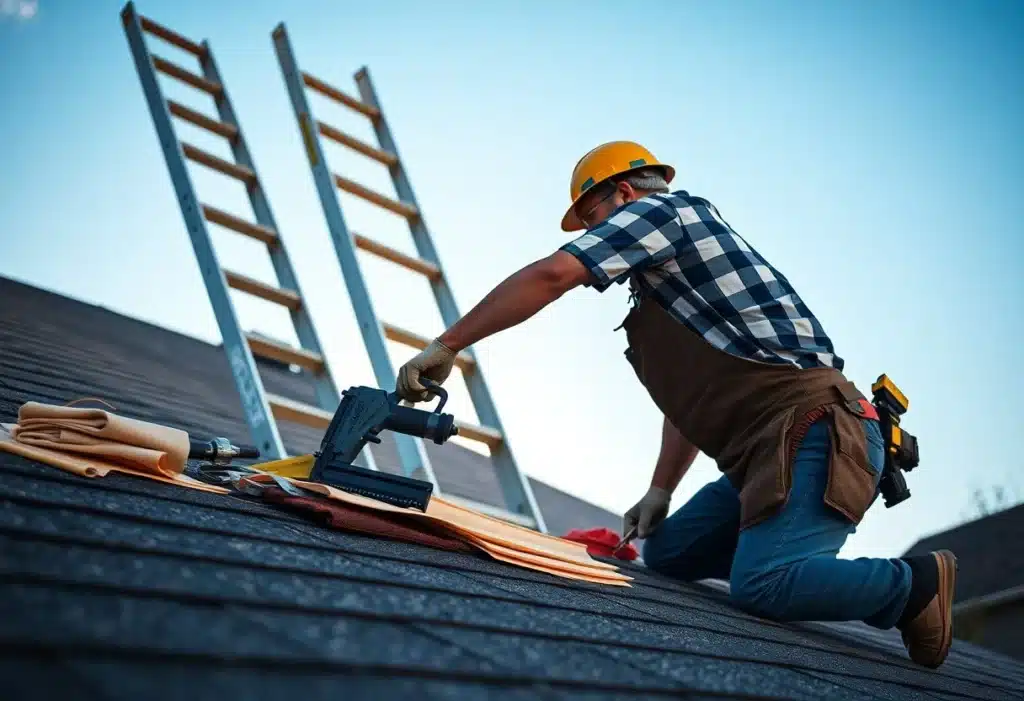
Executing Effective Repair Techniques
Techniques for Patch Repairs and Sealants
Patch repairs are effective for addressing localized damage on your asphalt roof. Start by cleaning the area thoroughly, removing any debris or loose material. Use a roofing scraper or putty knife to clear away damaged shingles, and be sure to apply a compatible roofing adhesive or sealant generously around the patch area.
For small holes or cracks, utilizing asphalt roofing cement can be beneficial; apply with a putty knife, ensuring a smooth finish. With larger areas of damage, cut a piece of new shingle to fit over the patched area, securing it in place with nails and sealing around the edges to prevent water intrusion.
Sealants offer an additional layer of defense, particularly in regions susceptible to leaks or excessive moisture. Applying a high-quality sealant can help extend the life of your repair work. After patching, consider using a liquid roofing sealant or elastomeric coating over the entire patched area to create a waterproof barrier. Make sure to follow the manufacturer’s instructions regarding drying time and application for optimal results.
Understanding When to Replace Shingles vs. Repair
Determining whether to replace shingles or repair them often depends on the extent of the damage. If you have a single shingle that is cracked or missing, a straightforward patch may suffice. However, if there is damage to multiple shingles over a large section of your roof, or if the shingles are showing signs of significant wear, replacing them becomes more sensible.
Manufacturers typically recommend replacement if shingles are more than 15-20 years old and showing deterioration, as they may not provide adequate protection against weather elements.
Assessing the overall condition of your shingles can also involve looking for signs like granule loss, curling, or discoloration. If more than 30% of your shingles exhibit significant damage, you might consider a full replacement rather than patching each damaged area. Consulting with a roofing professional for a thorough evaluation can save you time, effort, and money in the long run, ensuring that you are making the right choice for the longevity of your roof.
Final Check and Maintenance Tips for Longevity
Completing the asphalt roof repair is just the beginning; a final check ensures everything is in place and functioning as intended. Begin by inspecting the repaired areas for any visible issues, such as unsealed edges or bubbles in the material that may indicate trapped moisture. If using sealant, apply a final layer where needed to reinforce the litigious regions, preventing any chances of leaks.
Go over the entire surface to check for uniformity in the application—this will help maintain the aesthetic appeal as well as functionality. A firm and thorough inspection also gives you peace of mind, knowing that your roof is set for long-lasting performance.
- Inspect the repair areas for flaws
- Ensure sealant coverage is uniform
- Conduct a visual check for overall integrity
- Record the findings and implement corrective measures if needed
Your roof is not simply a protective covering; it plays a significant role in your home’s energy efficiency. Making a regular maintenance plan can help your asphalt roof last much longer. Performing inspections biannually is a good starting point; plan to do this in the spring and fall when weather conditions are typically milder.
During these inspections, check for any signs of wear, such as cracked shingles or misplaced flashing, and address these promptly to avoid more extensive repairs down the line. Keep an eye on your gutters as well, since clogged gutters can lead to water damage and other complications.
Inspecting the Repair and Ensuring Quality
After completing the repair, it is important to carefully check out the work. Use a ladder to climb onto the roof and closely observe the repaired sections. Check for any inconsistencies in the texture and color of the original material.
A well-executed repair should blend seamlessly with the existing roof while maintaining a strong resistance to elements such as water and UV rays. Utilize a hose to conduct a water test, ensuring no leaks are present through the repaired sections after heavy rain. This final evaluation will help guarantee that your efforts yield the best possible results.
Establishing a Regular Maintenance Routine
Your roof is exposed to changing weather all year, so it’s important to check and maintain it regularly. Look over your roof every 6 months to make sure it stays in good shape. During these sessions, clear away leaves, branches, and debris that accumulate over time, as these can trap moisture against your roofing materials.
Check for any water stains on the exterior walls of your home, as they may indicate underlying roof issues that need to be addressed sooner rather than later. You should also consider hiring professionals every few years to conduct a detailed inspection and maintenance session; their expertise could uncover hidden issues that you might miss.
Regular check-ups and housekeeping are key to ensuring the longevity of your asphalt roof. Schedule a detailed inspection post-severe weather, such as storms or heavy snowfall, to reassess the integrity of the repair and be proactive about ongoing maintenance.
By focusing on these areas, you’ll preserve the health of your roof for many years to come.
FAQ
What is the first step in conducting an effective asphalt roof repair?
The first step in an effective asphalt roof repair is to conduct a thorough inspection of the roof. Look for signs of damage such as missing shingles, cracks, or pooling water. This will help identify the areas that need repair and ensure that no issues are overlooked.
How should I prepare the damaged area of the roof for repair?
Preparation of the damaged area involves cleaning it thoroughly. Remove any debris, dirt, or old roofing materials from the affected spot. This ensures a clean surface for new materials to adhere to and promotes a better seal to prevent future leaks.
What materials are recommended for repairing an asphalt roof?
Common materials for asphalt roof repair include asphalt shingles, roofing cement, sealant, and underlayment. Choose high-quality materials that match the existing roofing for optimal durability and aesthetic consistency.
How can I effectively apply the materials needed for the repair?
When applying repair materials, use a trowel for roofing cement to ensure even distribution. For shingle replacement, slide the new shingles into place and secure them with roofing nails. Make sure to apply roofing sealant around edges and seams to prevent leaks.
What should I do after completing the roof repair?
After completing the repair, it is important to conduct a final inspection. Check for any missed spots or areas that require additional sealant. Moreover, monitoring the repaired area over the next few weeks for any signs of leakage or further damage is advisable.
To wrap up
Ultimately, taking the necessary steps for effective asphalt roof repair will not only extend the life of your roof but also enhance the overall safety and comfort of your home.
By inspecting your roof regularly, identifying the specific areas that need attention, and using appropriate materials for repairs, you place yourself in a strong position to maintain your investment. Be sure to clean the area and prepare it properly before you start any repair work, as this will contribute significantly to the longevity of your repairs.
Your roof is a vital component of your home, and understanding the five imperative steps for asphalt roof repair allows you to tackle issues proactively. Always consider consulting a professional if you encounter extensive damage that goes beyond minor repairs. By taking these measures, you will ensure that your asphalt roof remains in good condition, providing you with peace of mind and protecting your home for years to come.
Leave a Reply
You must be logged in to post a comment.